Part 1.1 - Images and Files
Configuring file uploads ⌘
We need to enable file uploads in LocalSettings.php and php.ini.
You may wish to change max file size allowed. This can be done in your php.ini file.
On Ubuntu it is found in /etc/php5/apache2/php.ini
http://www.mediawiki.org/wiki/Manual:Configuring_file_uploads
Adding a file ⌘
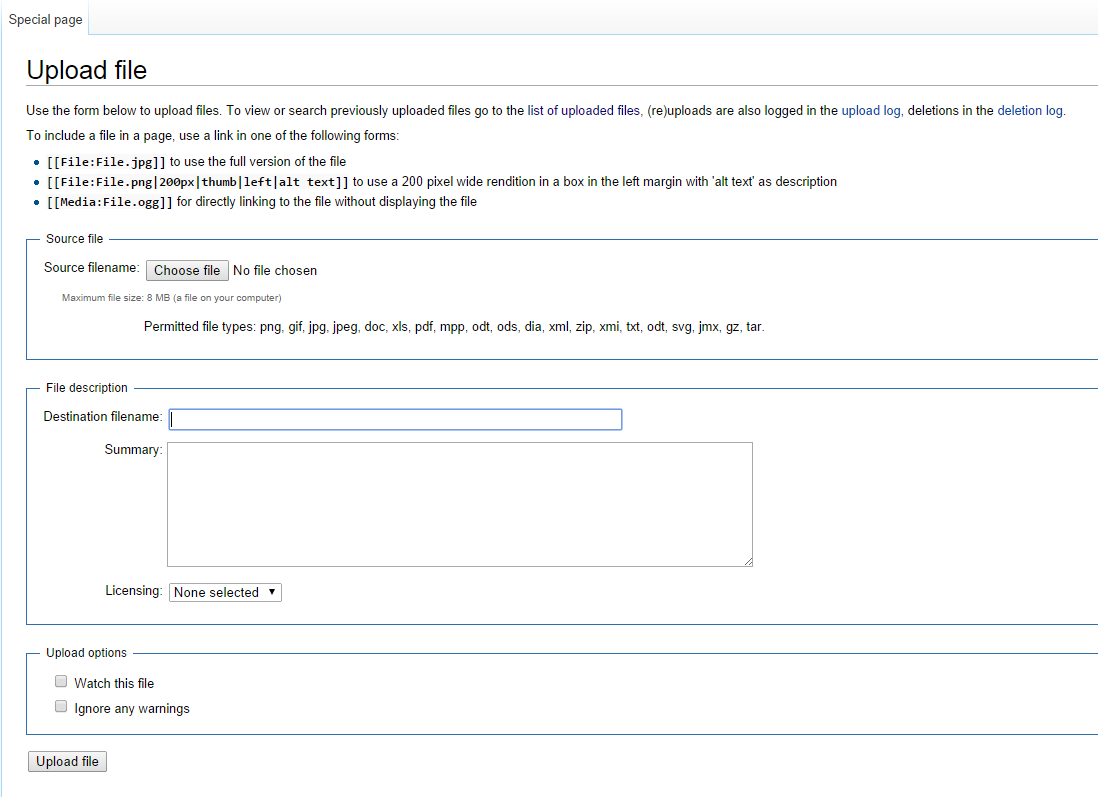
By default you need to be logged in to upload a file
To upload a file just click on the "Upload file" link under Toolbox on the sidebar or navigate to Special:Upload
You can change what file types are allowed in LocalSettings.php
$wgFileExtensions = array();
certain file types are dangerous to allow however, see http://meta.wikimedia.org/wiki/Help:Images_and_other_uploaded_files

Imbeding an image⌘
Once you uploaded an image file, you can place it on a page
[[File:WikiFileUpload.png]]
Resize the image to fit within given maximum width in pixels:
[[File:Arduino logo.png|100px]]
Resize the image to fit within given maximum height in pixels:
[[File:Arduino logo.png|x50px]]
Resize the image to fit within given maximum width and height in pixels:
[[File:Arduino logo.png|100x50px]]
Align the image to the right:
[[File:Arduino logo.png|right]]
Align the image to the center and resize it to fit within given maximum width in pixels:
[[File:Arduino logo.png|right|100px]]
Other options
http://www.mediawiki.org/wiki/Help:Images
Image Gallery⌘
Theres a built in MediaWiki tag <gallery> that allows you to display a gallery of images.
<gallery>
Image:image1.png

Image:image2.png|This is a caption

</gallery>
Exercise ⌘
- Download images the cheeses you made pages for, and upload to your site.
- Add the images to your cheese pages.
